Hacking the Atari Flashback 2
(Cartridge Port Mod)
This guide originaly from atarimuseum.com I have edited it to make it easier to wire up the switches as the original guide was not very clear at all on how to do this.
If you have a newer version board for the Flashback 2 you can use this guide here http://portablesofdoom.org/?p=244 If you have one of the Fake pirate versions of the Flashback 2 I think you might be out of luck but you can look here http://atariage.com/forums/topic/187727-is-my-fb2-a-fake/?p=2371823 or here http://atariage.com/forums/topic/173494-original-flashback2-sighting-2499/?p=2175718 for more info on Fake Flashback 2 systems.
This guide assumes you already know what your going to need, how to take apart the Flashback 2, and how your going to setup your cart port and switches. This guide only covers how to wire everything up.
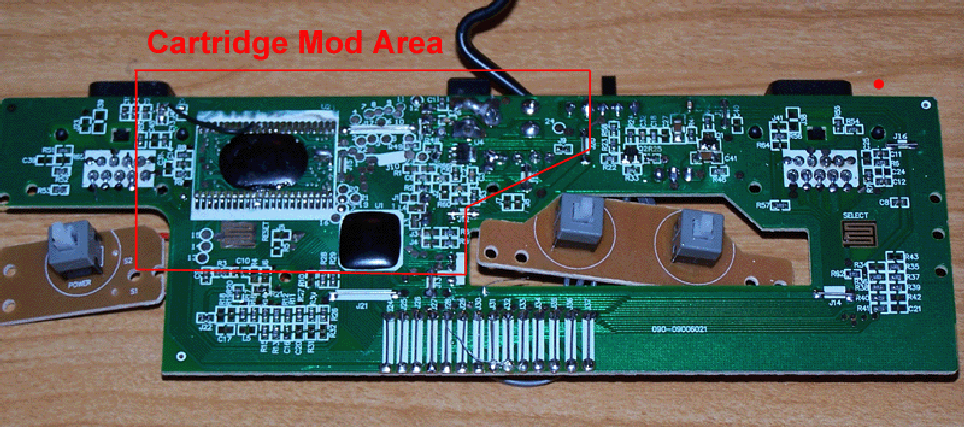
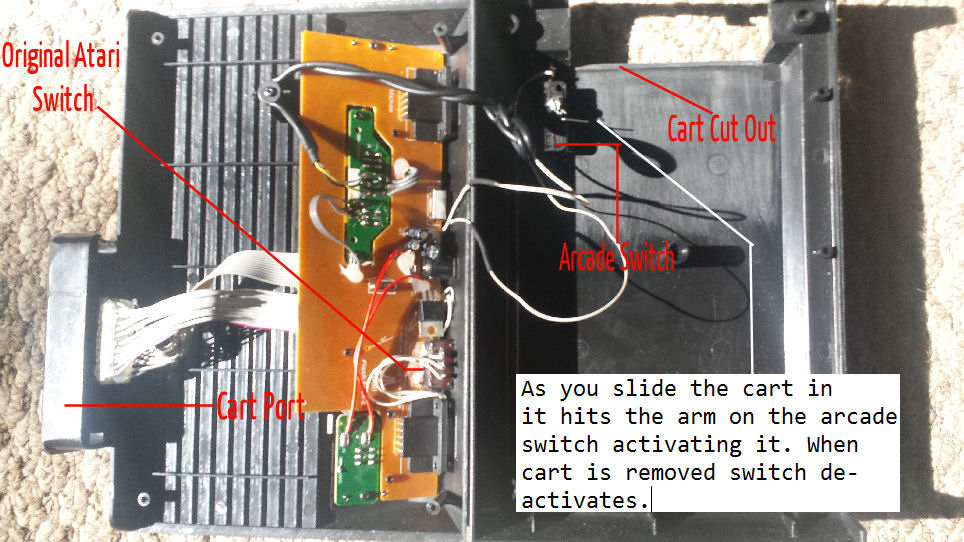
This is the area we will be focusing on. This area of the board is where all of the connections and mods will take place to allow the use of real cartridges on the system.
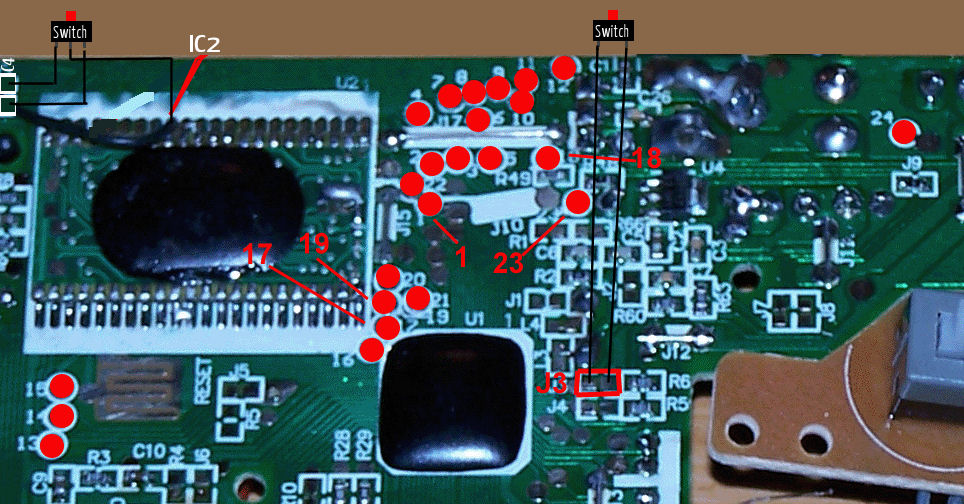
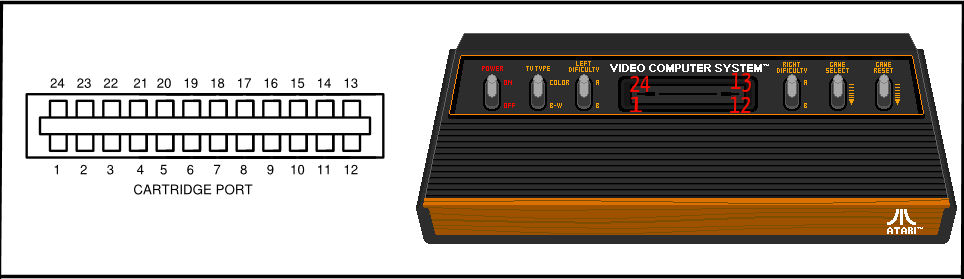
Locate all 24 Cartridge pinout connections. The board is silk-screened to show pin # for each cartridge port connection, however the above image has all of the solder points highlighted in RED. Points 1, 17, 18, 19 and 23 can be a little difficult to locate and to be certain which one is which, so the above image clearly ID's all of the cartridge point points. These pads are small so take your time. Tin the solder points first to make it easier to attach the wire to each point. Have a desoldering iron on hand in case you accidentally "bridge" two solder pads together.
Remove the black jumper wire that connects to IC2. Romove it completly (both ends), you don't need it. Get 3 6in wires solder one wire to each C4 pad and one wire to the IC2 where you removed the black wire. Now solder the other ends to the switch as shown in the image above. Next we need two more 6in wires. Solder one wire to each J3 pad and then solder the other ends to the switch as shown in the picture above.
For the C4 switch I used one of the difficultly switches off the original Atari 2600. For the J3 switch I used a switch from an arcade button but you could just use a on/off switch from the original Atari 2600. If you want to spend money or don't have any switches laying around I'm sure you could buy a switch that could handle both functions rather than using two switches like I did.
NOTE: I used quick setting epoxy to hold the switches and cart port in place. The stuff is SUPER strong!
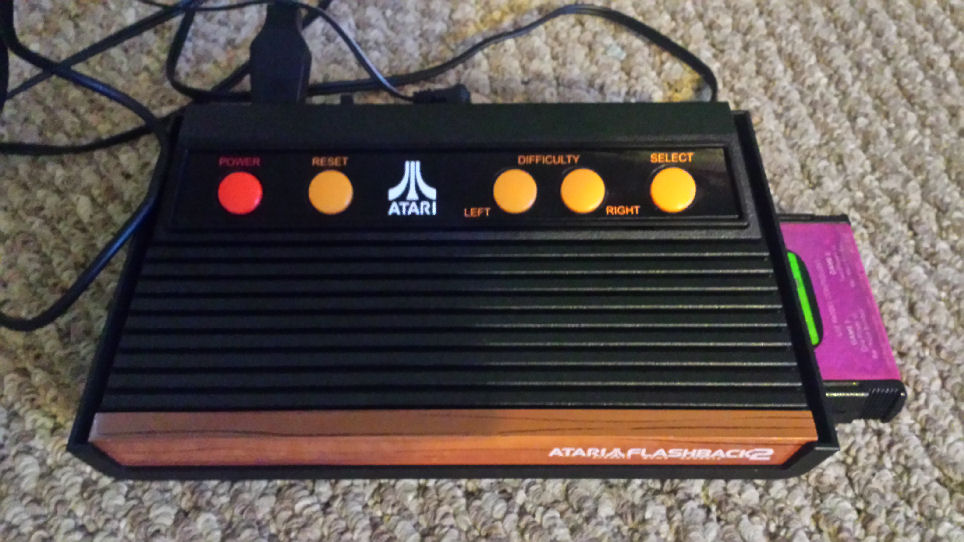
Finished Product.